Developing devthedevel - Part 1
Whoa, isn’t that a trippy blog image 😂
First of all if you are reading this then welcome to my site! Thanks for being here!
I created this site way back in the summer of 2023, just for something to do. I wanted to learn Astro, and I wanted to get some more experience building frontends. I also wanted my own semi-professional website. So I started a new Astro project, bought a new domain, and got to work.
And at some point while I was setting up, I realized that I wanted to make a blog about my journey developing this actual site. Which sounds like a great re-occuring blog segment in my opinion!
The goal of this blog is to hopefully educate and entertain newer software developers. Another goal is to help me build up my own site and portfolio. And yet another goal is to keep me busy learning new things. And even yet another goal is to motivate me to actually stick to a project (instead of working on a project for a couple days and then throwing it into the abyss that is my ‘backlog’ 😩).
So lets get started!
Oh one last note: I’m writing this about 6 months after I originally created the site. I don’t know why I ignored this for 6 months. I forget a lot of things, but I’ll do my best to remember all the significant details. Going forward, blog posts should be released as I’m working on changes.
Getting Started
As I mentioned above, the first thing I had to do was head over to Astro and create a new project. With a blog in mind, I opted for a blog template. I don’t remember which one exactly (its been nearly 6 months since I created this). I didn’t use any UI frameworks either: this is a basic Astro site!
Why Astro?
I have been talking about Astro a fair bit already, but I haven’t explained why I selected Astro for a project. The reason’s are fairly simple:
- It was highly recommended to me by several people in my local tech community
- Astro’s strength is in its static content development. Astro actually recommends using a different framework if you want a complex web app (although you can still make web apps with Astro if you want to)
- Its used by several big tech names like Google, Microsoft, and NordVPN to name a few. I’m not worried about Astro becoming outdated and obsolete
- It has lots of integrations! If I ever wanted to add more complex features, I can easily add React to the site. Or TailwindCSS. Or whatever I like!
- Its fast
This is a winning combination for a simple blog website.
Astro Crash Course
The installation guided me through creating my project and eventually gave me a full project setup. There were lots of files in lots of folders and I didn’t have a clue what everything did.
Now what?
That was a very good question that I asked myself. I guess the only thing I could do at that point was to learn what everything was. Upon opening src/ I was greeted with the following structure:
- src/
  - assets/
  - components/
  - content/
  - layouts/
  - pages/
  - styles/
Damn thats a fair amount of folders there Astro. Alright lets break this down:
assets/obviously contains any assetscomponents/contains Astro componentscontent/contains content collectionslayouts/contains layouts, which are essentially Astro components that are meant to be used as reusable templates (like this blog page you are reading right now)pages/contain the website’s pagesstyles/obviously contains styles
What makes Astro so great for static content is file-based routing. Pages are simply markdown files (or Astro components) within pages/. Astro loads any files within pages/ and generates a page for each one: file-based routing! Those pages can be accessed like {website_url}/{page_name}. For example, my About page is stored as pages/about.astro and can be accessed from devthedevel.xyz/about. Neat eh?
Hold up, whats that .astro file extension? Thats an Astro component. These components contain two sections: a script section and a template section. The component script is where you can run code before Astro generates the final page. You can import other components, data, or even fetch content from a server. You can also create variables here that can be used in the template.
The component template is where you actually write the HTML output of the component. You can write plain HTML, or write code similar to JSX (perhaps it is JSX 🤔). You can reference the component’s props or variables created from the component script. You can also use other components and compose them together to build your UI.
Astro also has the concept of collections. Collections are a relatively new feature and they allow you to group content together into specific collections. You can define the schema of a collection. Collections are stored in content/. Each subfolder within content/ is treated as a collection. Every file within those subfolders are treated as content for that specific collection.
Lets take my blog for example. I currently have the following:
- content/
  - blog/
    - developing_devthedevel_part_1.md
developing_devthedevel_part_1.md is the file that contains this very blog post. Everything that I have written here is stored in this file. Whenever I make ‘Developing devthedevel.xyz: Part 2’, I will create a new file here named developing_devthedevel_part_2.md. Thats it! Each file is a blog post. Simple!
If you have been paying attention you may be wondering how blogs within content/blog/ are being turned into unique pages. Have a look at the url: its devthedevel.xyz/blog/developing_devthedevel_part_1. You might naively believe that I have a pages/blog/developing_devthedevel_part_1.astro file that loads the data from content/blog/developing_devthedevel_part_1.md. I mean, this is possible within Astro but that would become tedious quickly. Imagine writing your content, and then copy and pasting a page that loads its related content. Horrible. As a software developer I’m obligated by profession to reduce the amount of duplicate code. I’m also obligated to save as many lines of code as possible and to over engineer where possible 🙃.
Astro supports dynamic routing: all you need to do is name the file correctly and tell Astro how to generate the static paths for a page.
Step one: naming the file. Naming a file [...path].astro will tell Astro to pass the path into the component script. You can access the path via Astro.params in the component script.
Step two: generating static paths. Within the component script you can export a function called getStaticPaths(). This function should return an array of objects that define static paths for the page. This allows you to generate pages that have different contents based on its path. This lets me write as many blogs I want in content/blog/ and never have to write an individual corresponding page in pages/blog.
Here’s my pages/blog/[...slug].astro file:
---
import { type CollectionEntry, getCollection } from 'astro:content';
import BlogPost from '../../layouts/BlogPost.astro';

export async function getStaticPaths() {
  type BlogCollection = CollectionEntry<'blog'>

  const blogCollection: BlogCollection = await getCollection('blog')
  const blogPosts = Array.isArray(blogCollection) ? blogCollection : []

	return blogPosts.map((post) => ({
	  params: { slug: post.slug },
	  props: post,
	}));
}
type Props = CollectionEntry<'blog'>;

const post = Astro.props;
// @ts-ignore - 404 page will catch any runtime errors
const { Content } = await post.render();
---
<BlogPost {...(post as any).data }>
	<Content />
</BlogPost>
As you can see I load my blogs (using the handy dandy getCollection() function that Astro exposes), and then map each post to its own page. So when I eventually add the next blog post all I need to do is create content/blog/developing_devthedevel_part_2.md and Astro will take care of the rest. Damn Astro is cool.
And that essentially is how my site works. I write content, Astro picks it up and creates pages for me. So whats next?
Making the Site Mine
So Astro created a site for me. It added a blog for me. Its doing lots of things for me. However I still need to actually write content. Thats the whole point of this site.
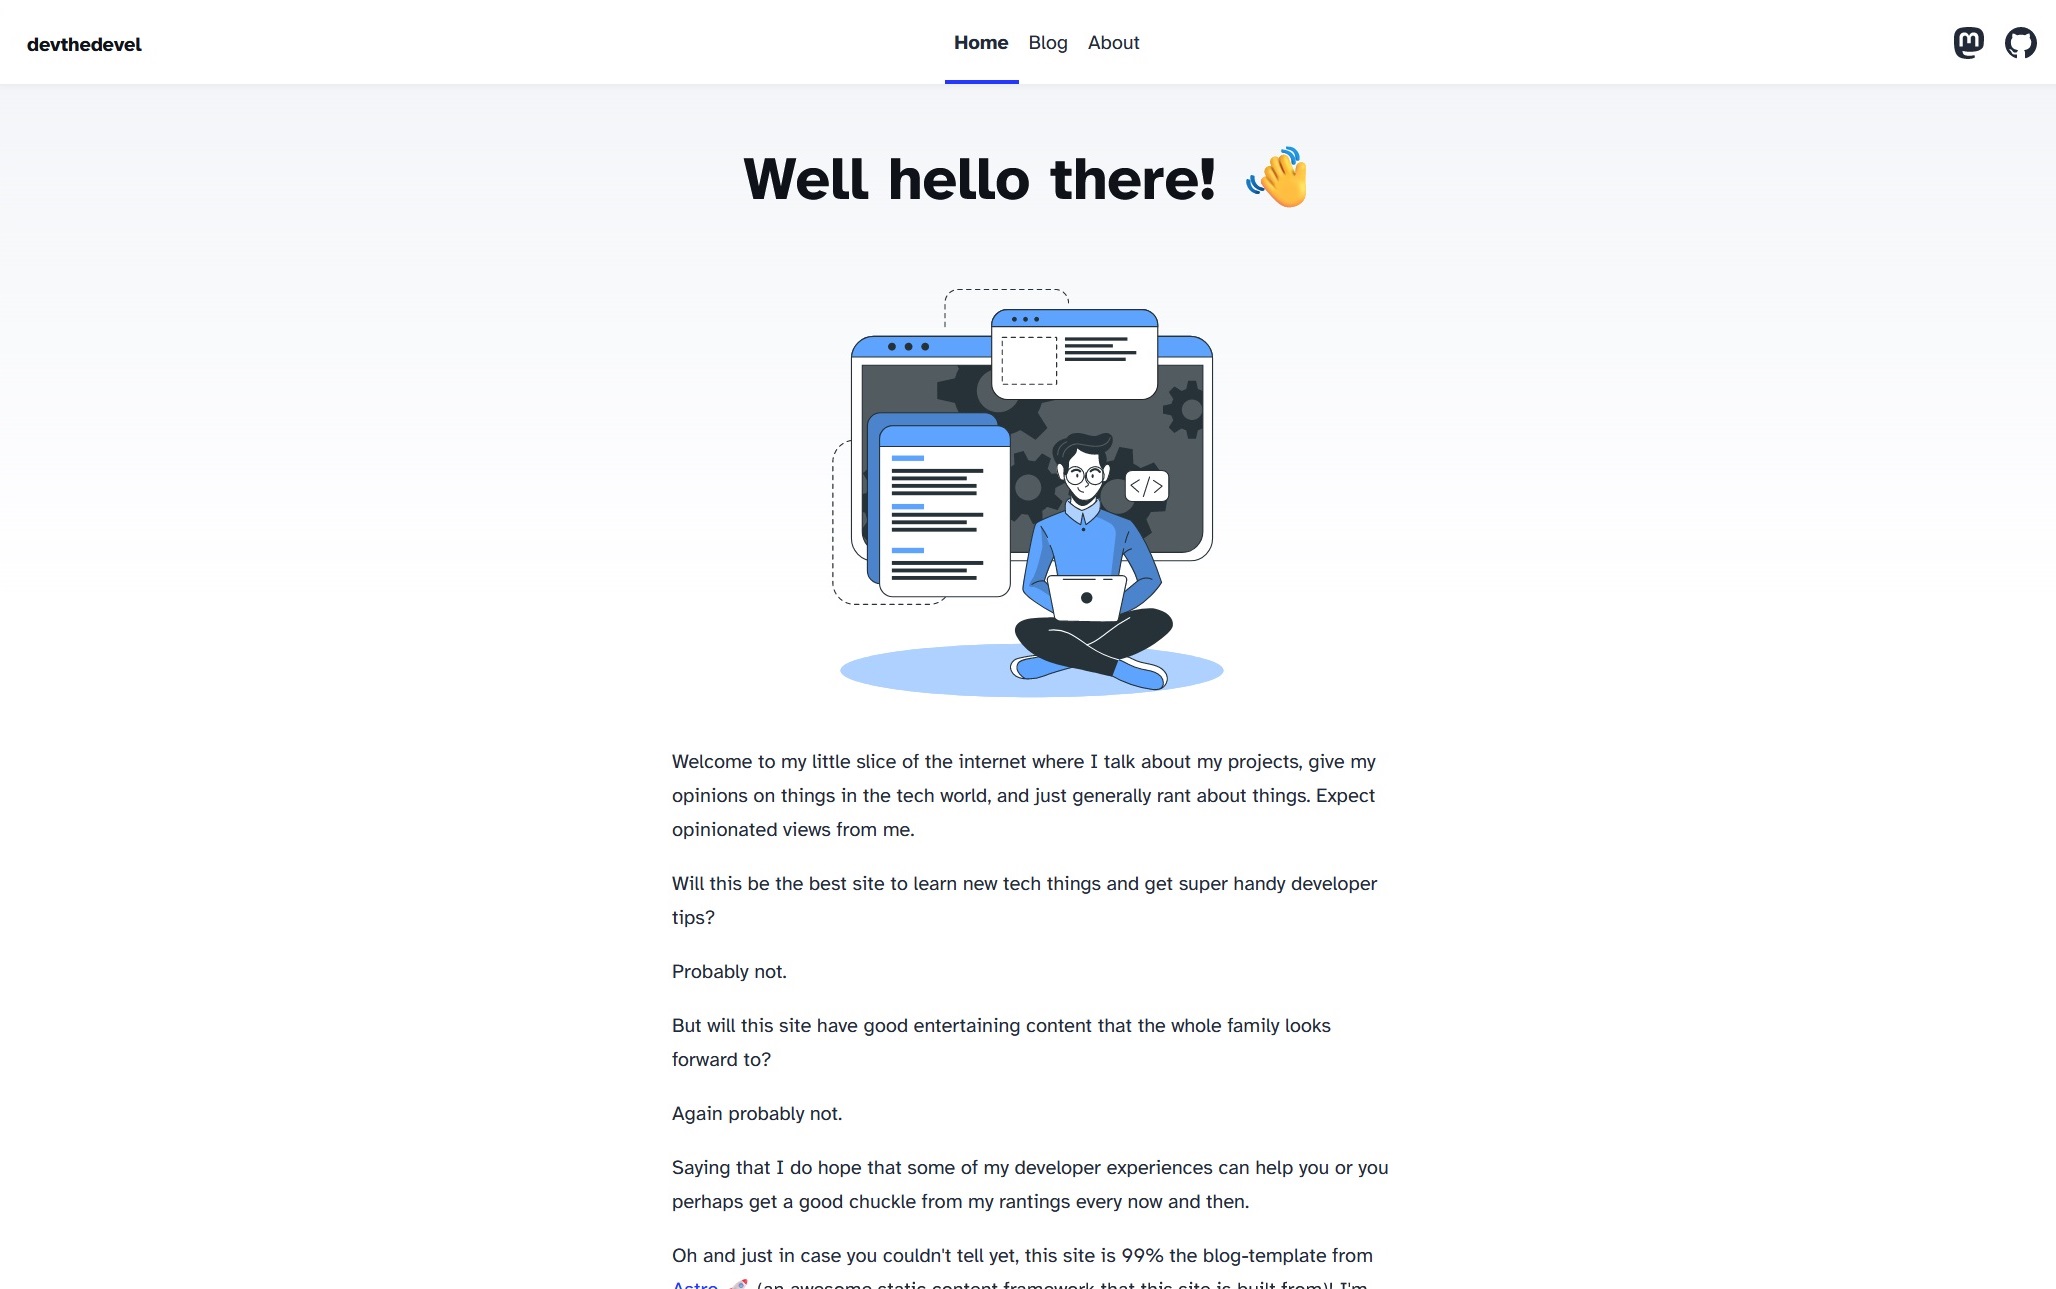
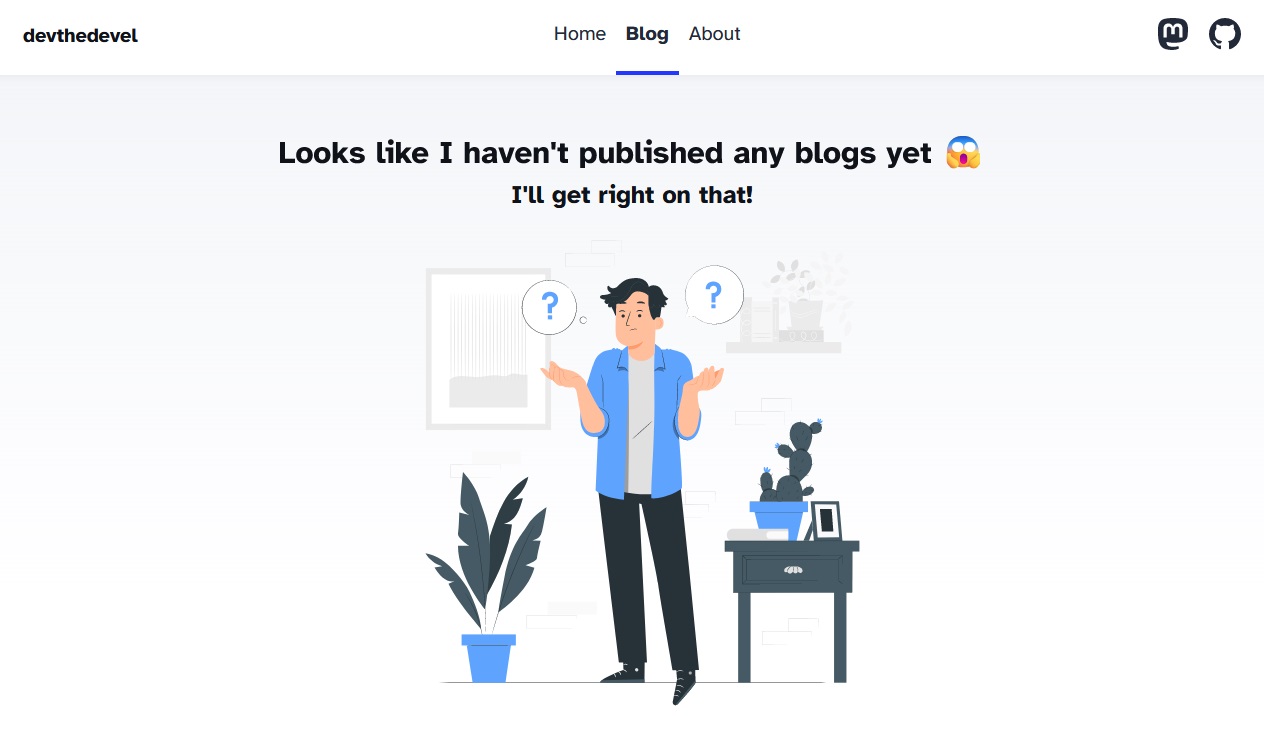
Between creating the site and writing this first post, I have done some minor changes to the site to make it mine. I added a couple social media links. I wrote an index page and an about page (writing about yourself is so hard). I added a 404 page. I added a placeholder page for blogs in the event that I have no blogs within content/blogs/ (which should never be the case if you are reading this). Its just below if you do want to see it however:

Although its very very very unlikely to see this page, I kinda love it. Makes me feel like a real web developer (my entire backend-hardened body shuddered while typing that).
And that basically catches you up to where I am at this time of writing.
Whats Next?
I now have a working site that has content 🎉! I could leave this project as is, and only write new blog posts. But if I planned on doing that, then why did I name this post ‘Developing devthedevel.xyz: Part 1 ’ 🤔?
Well its because I have plans for more changes to this site. Here’s a few things I would like to do:
- Add a dark theme (including a theme switcher)
- Add an avatar to the header
- Add tags to blog posts
- Some GitHub interactivity
- Include a short description for each blog on the
/blogpage - Add some way to contact me
- Perhaps a time to read for each blog
- Perhaps a ‘Last Updated’ date for each blog
I’ll also leave a link to the repo if you ever want to check out the code in more depth.
Outro
Well that was waaay longer than I expected. I’m proud that I returned to this project and even prouder that I actually wrote a blog post! I hope you enjoyed reading this more than I enjoyed getting this site to its current stage.
Cheers 🍺
